© 2026 Genie Projects World. All Rights Reserved.

Learn how to install Eclipse IDE on Windows 10 and 11, configure Java, create a Java project, and run your first Hello World program with this beginner-friendly guide.
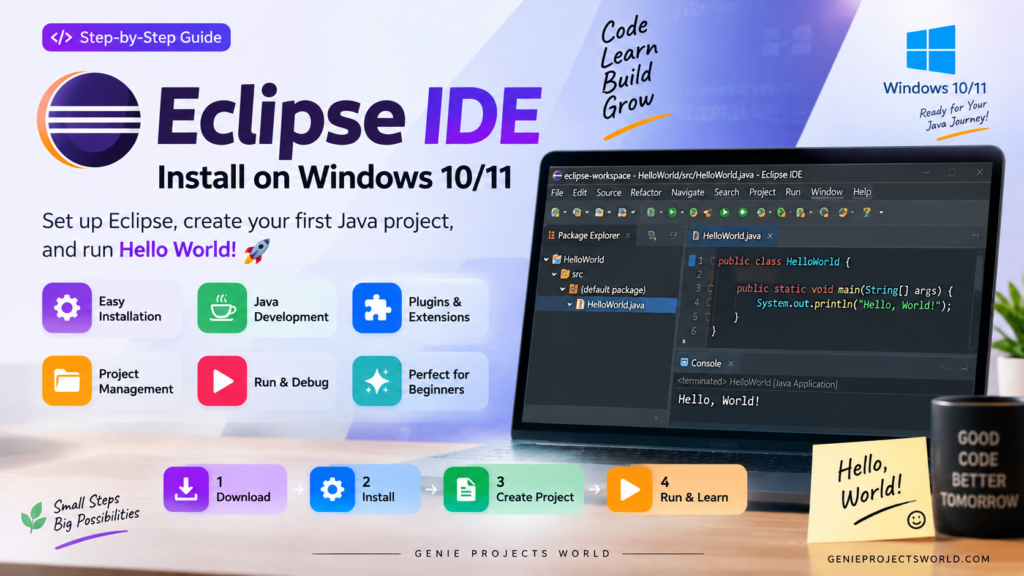
Eclipse IDE gives you a powerful workspace for writing, running, and debugging Java applications. In this guide, we'll install Eclipse IDE on Windows 10/11, configure the essentials, and create our first “Hello World” Java program from scratch.
☕ Java · 🛠️ Eclipse IDE · 🪟 Windows 10/11 · ⚙️ Setup · 📝 Hello World · ▶️ Run & Verify
|
Table of Contents: Topics Covered
|
|---|
Eclipse IDE is a free and open-source development environment widely used for creating Java applications. It brings code editing, project management, program execution, and debugging into one organized workspace, making it suitable for both beginners learning Java and developers working on larger applications.
Eclipse gives Java learners and developers a structured workspace where they can write, organize, run, and troubleshoot programs without relying on several separate tools.
⚡ Code Completion – Get suggestions while typing and reduce repetitive coding.
☕ Java Development Tools – Create and manage Java projects, packages, classes, and source files.
📁 Project Explorer – Keep project files and resources organized in one place.
🐞 Built-in Debugger – Run code step-by-step and investigate problems more easily.
▶️ Run & Test – Compile and execute Java programs directly from the IDE.
🔍 Code Navigation – Quickly move between classes, methods, declarations, and references.
🧩 Plugin Support – Extend Eclipse with additional tools and capabilities when your development needs grow.
🎨 Customizable Workspace – Arrange views, editors, perspectives, and settings around your preferred workflow.
Yes — Eclipse IDE Is Free and Open Source. Eclipse IDE can be downloaded and used without purchasing a subscription or activation key. The Eclipse IDE and platform are released under the Eclipse Public License 2.0 (EPL-2.0), an open-source license that permits use and distribution under its terms.
|
Features
|
Attributes
|
|---|---|
|
🟢 Cost
|
Free
|
|
💻 Platform
|
Windows, Linux & macOS
|
|
🔓 License
|
Eclipse Public License 2.0
|
|
🧩 Extensibility
|
Large plugin ecosystem
|
Eclipse is free, but individual third-party plugins, tools, services, or software you use alongside it may have their own licensing terms.
Before getting started, take a quick look at the basic requirements for running Eclipse IDE comfortably on your Windows system.
|
Requirement
|
Details
|
|---|---|
|
🖥️ Operating System
|
Windows 10 or Windows 11
|
|
⚙️ System Type
|
64-bit Windows - x86_64 for most modern PCs
|
|
💾 Storage
|
Free disk space for Eclipse and your Java projects
|
|
🧠 Memory (RAM)
|
4 GB or more recommended for comfortable use
|
|
🌐 Internet
|
Recommended for downloading Eclipse, updates, plugins and project dependencies
|
|
☕ Java Runtime
|
Required for Eclipse; the current Eclipse Installer bundles a JRE
|
If you’re following this guide to learn Java or build regular Java applications, the best choice is the Eclipse IDE for Java Developers. It includes the essential Java Development Tools along with Git, Maven and Gradle integration.
You may also see different Eclipse packages for Enterprise Java, C/C++, PHP, and other development environments. Choose the package based on the programming language or development work you plan to do.
|
Requirement
|
Details
|
|---|---|
|
☕ Learning Java / Java projects
|
Eclipse IDE for Java Developers ⭐
|
|
🌐 Enterprise Java & Web development
|
Eclipse IDE for Enterprise Java and Web Developers
|
|
⚙️ C/C++ development
|
Eclipse IDE for C/C++ Developers
|
|
🐘 PHP development
|
Eclipse IDE for PHP Developers
|
|
💻 ARM-based Windows PC
|
Choose AArch64
|
For this tutorial, choose Eclipse IDE for Java Developers → Windows → x86_64 if you're using a typical 64-bit Intel or AMD Windows PC. Eclipse also provides an AArch64 build for compatible ARM-based Windows systems.
Getting Eclipse is straightforward — the important part is choosing the official Eclipse distribution and the package that matches your development needs. For this tutorial, we’ll use Eclipse IDE for Java Developers, which includes Java Development Tools along with Git, Maven and other useful Java-development components.
Always download Eclipse from the official Eclipse website. Avoid random software-download sites or unofficial repackaged installers to reduce the risk of outdated or modified software.
Installing Eclipse IDE is straightforward with the Eclipse Installer. Once the installer is downloaded, follow the steps below to set up Eclipse for Java development.
💡 🤔 GPW Tip: If you’re installing Eclipse specifically for Java development, make sure you’ve selected Eclipse IDE for Java Developers rather than a package intended for another programming language.
C:\Users\YourName\eclipse-workspace🎉 That’s it! Eclipse IDE is now ready for Java development.
Unless you have a specific reason to use another drive or folder, keeping the default installation location makes future updates and troubleshooting simpler.
One of Eclipse IDE’s biggest strengths is its extensibility. You can add plugins and tools when your development needs grow instead of switching to a completely different IDE. The Eclipse Marketplace provides a convenient way to discover and install additional solutions directly from Eclipse.
Open Eclipse IDE.
Click Help in the top menu.
Select Eclipse Marketplace…
The Marketplace window will open with available plugins and solutions.
Use the Search box to find the plugin or tool you need.
Select the required plugin and click Install.
Review the selected features and accept the license terms if prompted.
Complete the installation and restart Eclipse if requested.
That’s it — the new functionality should now be available inside your Eclipse workspace.
Don't install plugins just because they're available. Start with the tools you actually need for your projects, and add more as your development workflow grows.
Now that Eclipse is installed, let’s put it to work! We’ll create a simple Java project, add our first Java class, write a Hello World program, and run it directly from Eclipse. ☕💻
HelloWorld
src folder and select: New → ClassHelloWorld
💡 GPW Tip: You can also select the option to create the main method automatically. This saves you from typing the basic Java program structure manually.
Add this code to the class:
public class HelloWorld {

    public static void main(String[] args) {
        System.out.println("Hello, World!");
    }

}Hello, World!🎉 Congratulations! Your first Java program is running successfully in Eclipse.
Prefer following along with a video? 👀 Watch our step-by-step tutorial to see the Eclipse IDE installation, Java setup, project creation and Hello World program demonstrated from start to finish.
▶️ Follow the video below and code along with us!
That’s it! 🎉 Eclipse IDE is now installed, your Java workspace is ready, and you’ve successfully created and executed your first Java program.
What started as a simple “Hello World!” is your first step into working with Java projects, classes, debugging, libraries, and larger applications. As you continue learning, Eclipse can grow with your projects rather than being something you need to replace as your skills improve.
Now that the setup is done, the real coding journey can begin. ☕💻🚀


Genie Projects World helps students explore ready-to-run academic projects with full source code and tutorials.
Proudly made in 🇮🇳 with ❤️ for Students.
Educational use only – Licensing info available in Terms
Share Your Feedback